In this project, new LED light modules are mounted inside the two side rails that hold the parcel shelf on the Model S to improve the trunk lighting. It does require making two rectangular holes in each rail, but the finished look is better than our similar, but lower-cost LED light strips trunk project. This project also makes no cuts to any Tesla wires.
From our guest contributor, Steven Barnes:
The Model S factory trunk light is not bright. I wanted to add light, but I wanted it to look more factory than a couple of LED strips. I required that the added lights look like it was factory installed, blended into the interior or were somewhat concealed.
I installed two flush-mounted Abstract Ocean LED lights on each side of the trunk by mounting them into the Parcel Shelf Bracket. I spent more time looking for where I would install additional lights than it took me to decide to buy my Model S!
Parts are available from Amazon and Mouser Electronics using the links. Other sources may be available too.
- AbstractOcean Ultra-Bright LED Interior Light Modules (package of 4)
- Light Module Male Connector Top – TE – 1-1534155-1 (2 required)
- Light Module Male Connector Bottom – TE 1-1534027-1 (2 required)
- Light Module Male Pins – TE 1-928918-1 (12 required)
- Light Module Female Connector Top – TE 1-1534112-1 (6 required)
- Light Module Female Connector Bottom – TE 1-1534113-1 (6 required)
- Light Module Female Pins – TE 963715-5 (4 required) or alternate for thinner wires Female Receptacle – TE 928999
- Alightings T type 2pin Wire Connector with no wire-stripping required (package of 10)
- Wire pair, 66 feet, 20 AWG
It’s difficult to find a source for Male Pin 1-928919-1 to purchase less than a cut strip of 100 items. To that end, this type of pigtail may be a suitable substitute.
While not part of the project, I installed this cargo hook on the parcel shelf bracket:
- Small needlenose pliers for crimping connectors.
- Large needlenose pliers for crimping large wiretaps
- Small wire strippers or box cutter for removing insulation on wires
- Torx T20 screwdriver (or T20 bit for a driver tool)
- Plastic cutting tool, like Dremel (for rectangular holes)
I took four of Abstract Ocean’s bright LED trunk lights (2 per side) and surface mounted them into my parcel shelf bracket. I wired them from the backside and routed power from the factory corner trunk light connection. With 3 sets of 2 now on each side of my trunk, there’s a flood of light into the trunk. Nice, simple looking and looks factory.
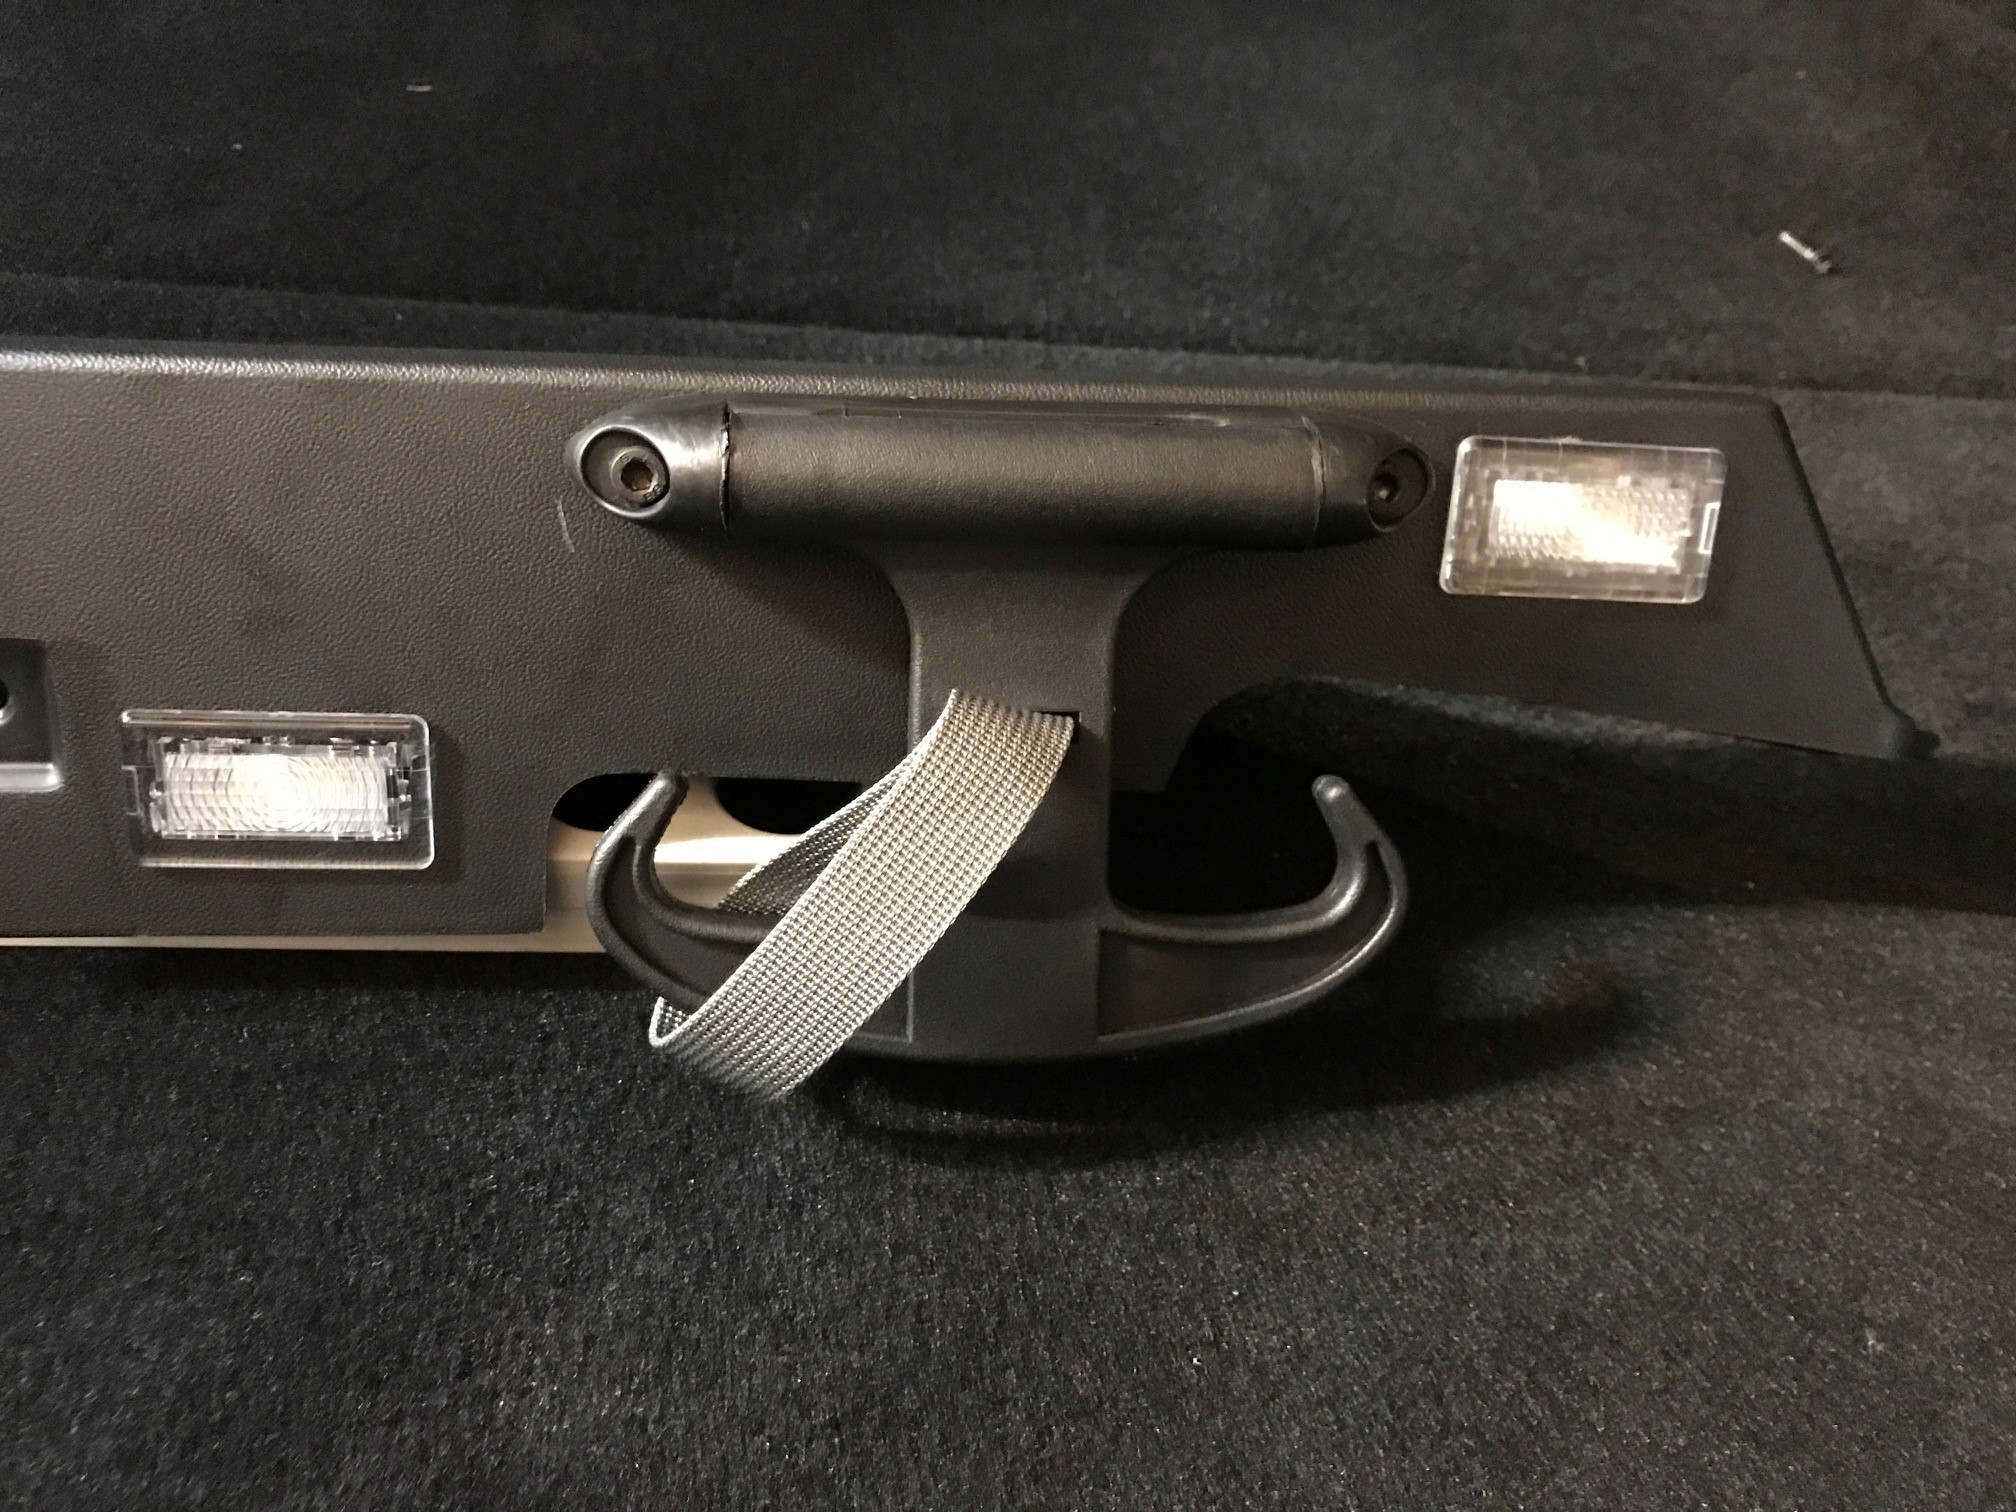
Mounted LED Modules and Cargo Hook
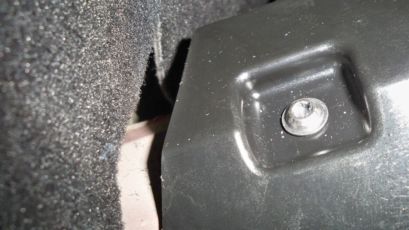
To remove the parcel shelf bracket, remove one Torx 20 screw half down the underside of the bracket.
Then from the end closest to the back of the car, pull the corner out from the car towards the center of the trunk. You are pulling it from under the curl of the edge of the trunk’s weatherstrip so give it a good pull. You will her it pop as it clears the first flat clip. Pull more as you “walk” it pulling from the inside of the car. As you get close to the cloth trim above the bracket, hold the cloth trim in place so you don’t pull it off the car with the bracket. Continue pulling the bracket at the C Pillar.
I made a pattern by drawing the backside/inside dimensions of the Abstract Ocean light. It’s a good idea to make the pattern a little undersized and trim the hole to get an accurate fit versus too large. I removed the parcel shelf bracket and traced with a black marker on the bracket. Then using a Dremel cutting disc, I cut a rectangular hole and adjusted/trimmed the hole until the lamp fit. The holes, two on each bracket, are about 2 inches and 8 inches from the bracket’s end closest to the trunk opening.
I made a harness to connect the lights to the car’s power where the corner trunk light current is mounted. I used the Mouser manufactured housings and terminal connections that make up the male power connectors that match the factory Tesla puddle lights and Abstract Ocean lights. I made a short harness of 24-26 inches for each side. Each had three male connectors and a single female connector. One end had two male connectors about 6-8 inches apart for the end. This end would be used at the bracket for two flush mounted lights. The other end had one male and one female connector about 4-5 inches part, from the end. This end connects to the existing corner trunk light and the female connector accepts the corner lights car connection at the car’s wiring harness for power.
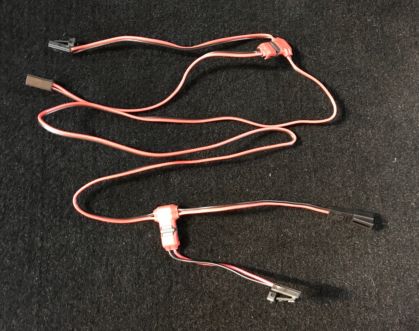
Completed wiring harness for one side
Harness has two male connectors near end at top of picture. One male and one female connector at end of harness at bottom of picture.
Each harness extends the power from the trunk corner light and bring the power up to the two parcel shelf lights. Unplug the corner trunk light. There is more than one way to do what’s next. The harness is placed behind the fuzzy trunk liner and the body of the car.
Option 1: Cut a 3-4 inch slit to push the harness through the liner and fish it up from behind by routing it up along the outside curve of the liner between the back of the liner and the body.
Option 2: Remove/pull the black plastic curved trim off the car at the curve of the trunk between the corner of the trunk and the parcel shelf bracket. It pulls loose at the upper end with a snap, then as you pull it out, you turn it 60-90 degrees to ease it out from behind the black plastic trim that runs the width of the trunk above the foot well. Once this curved trim it out of the way, the liner can be pulled down to reveal the backside. Tuck or hide the harness along the back of the liner between the liner and the body from the corner trunk light to the location of the end of the parcel shelf bracket. Re-insert the black plastic curved trim and snap it back in place.
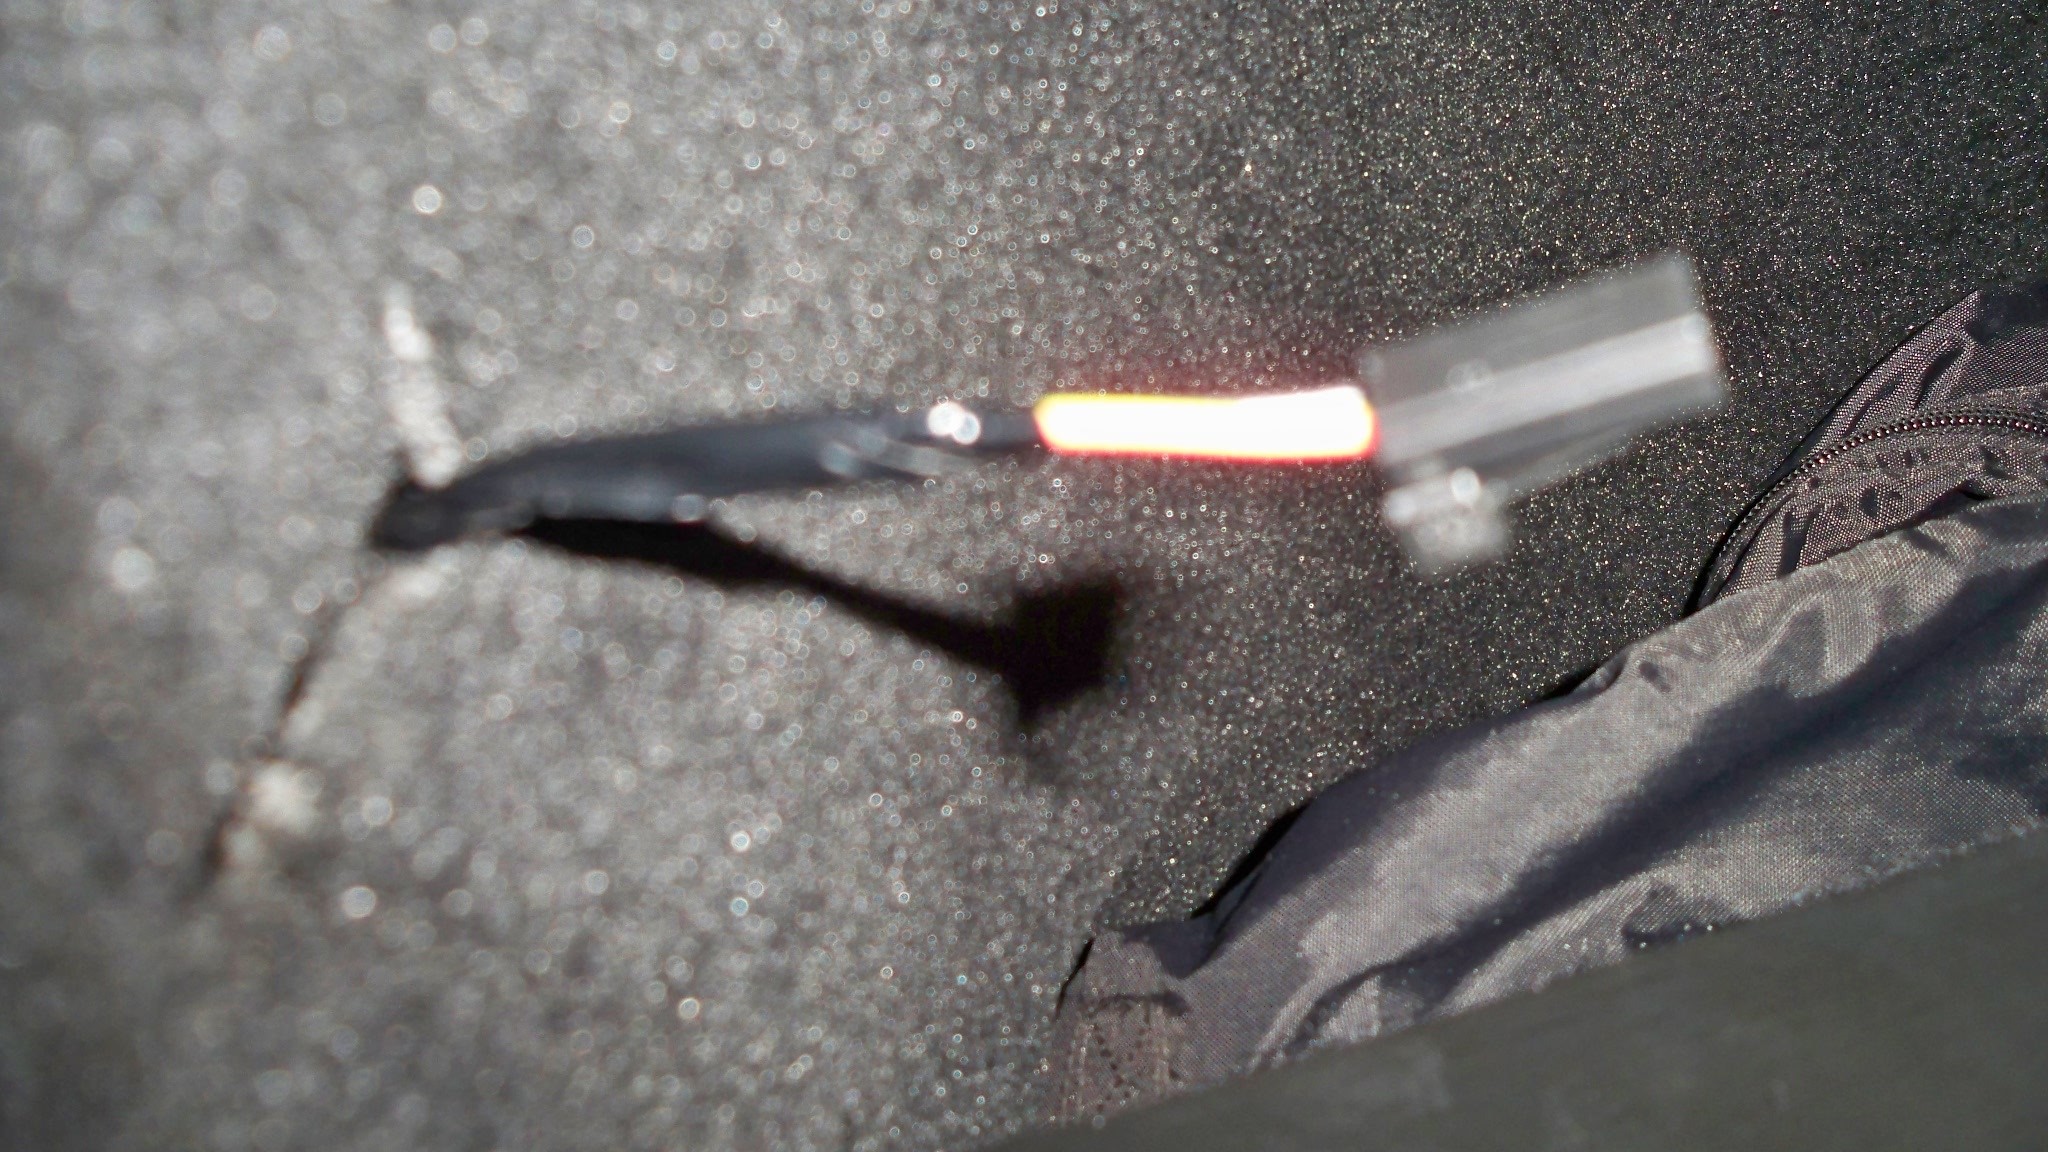
Connector pulled through slit in liner
corner trunk light removed from liner and liner pulled back
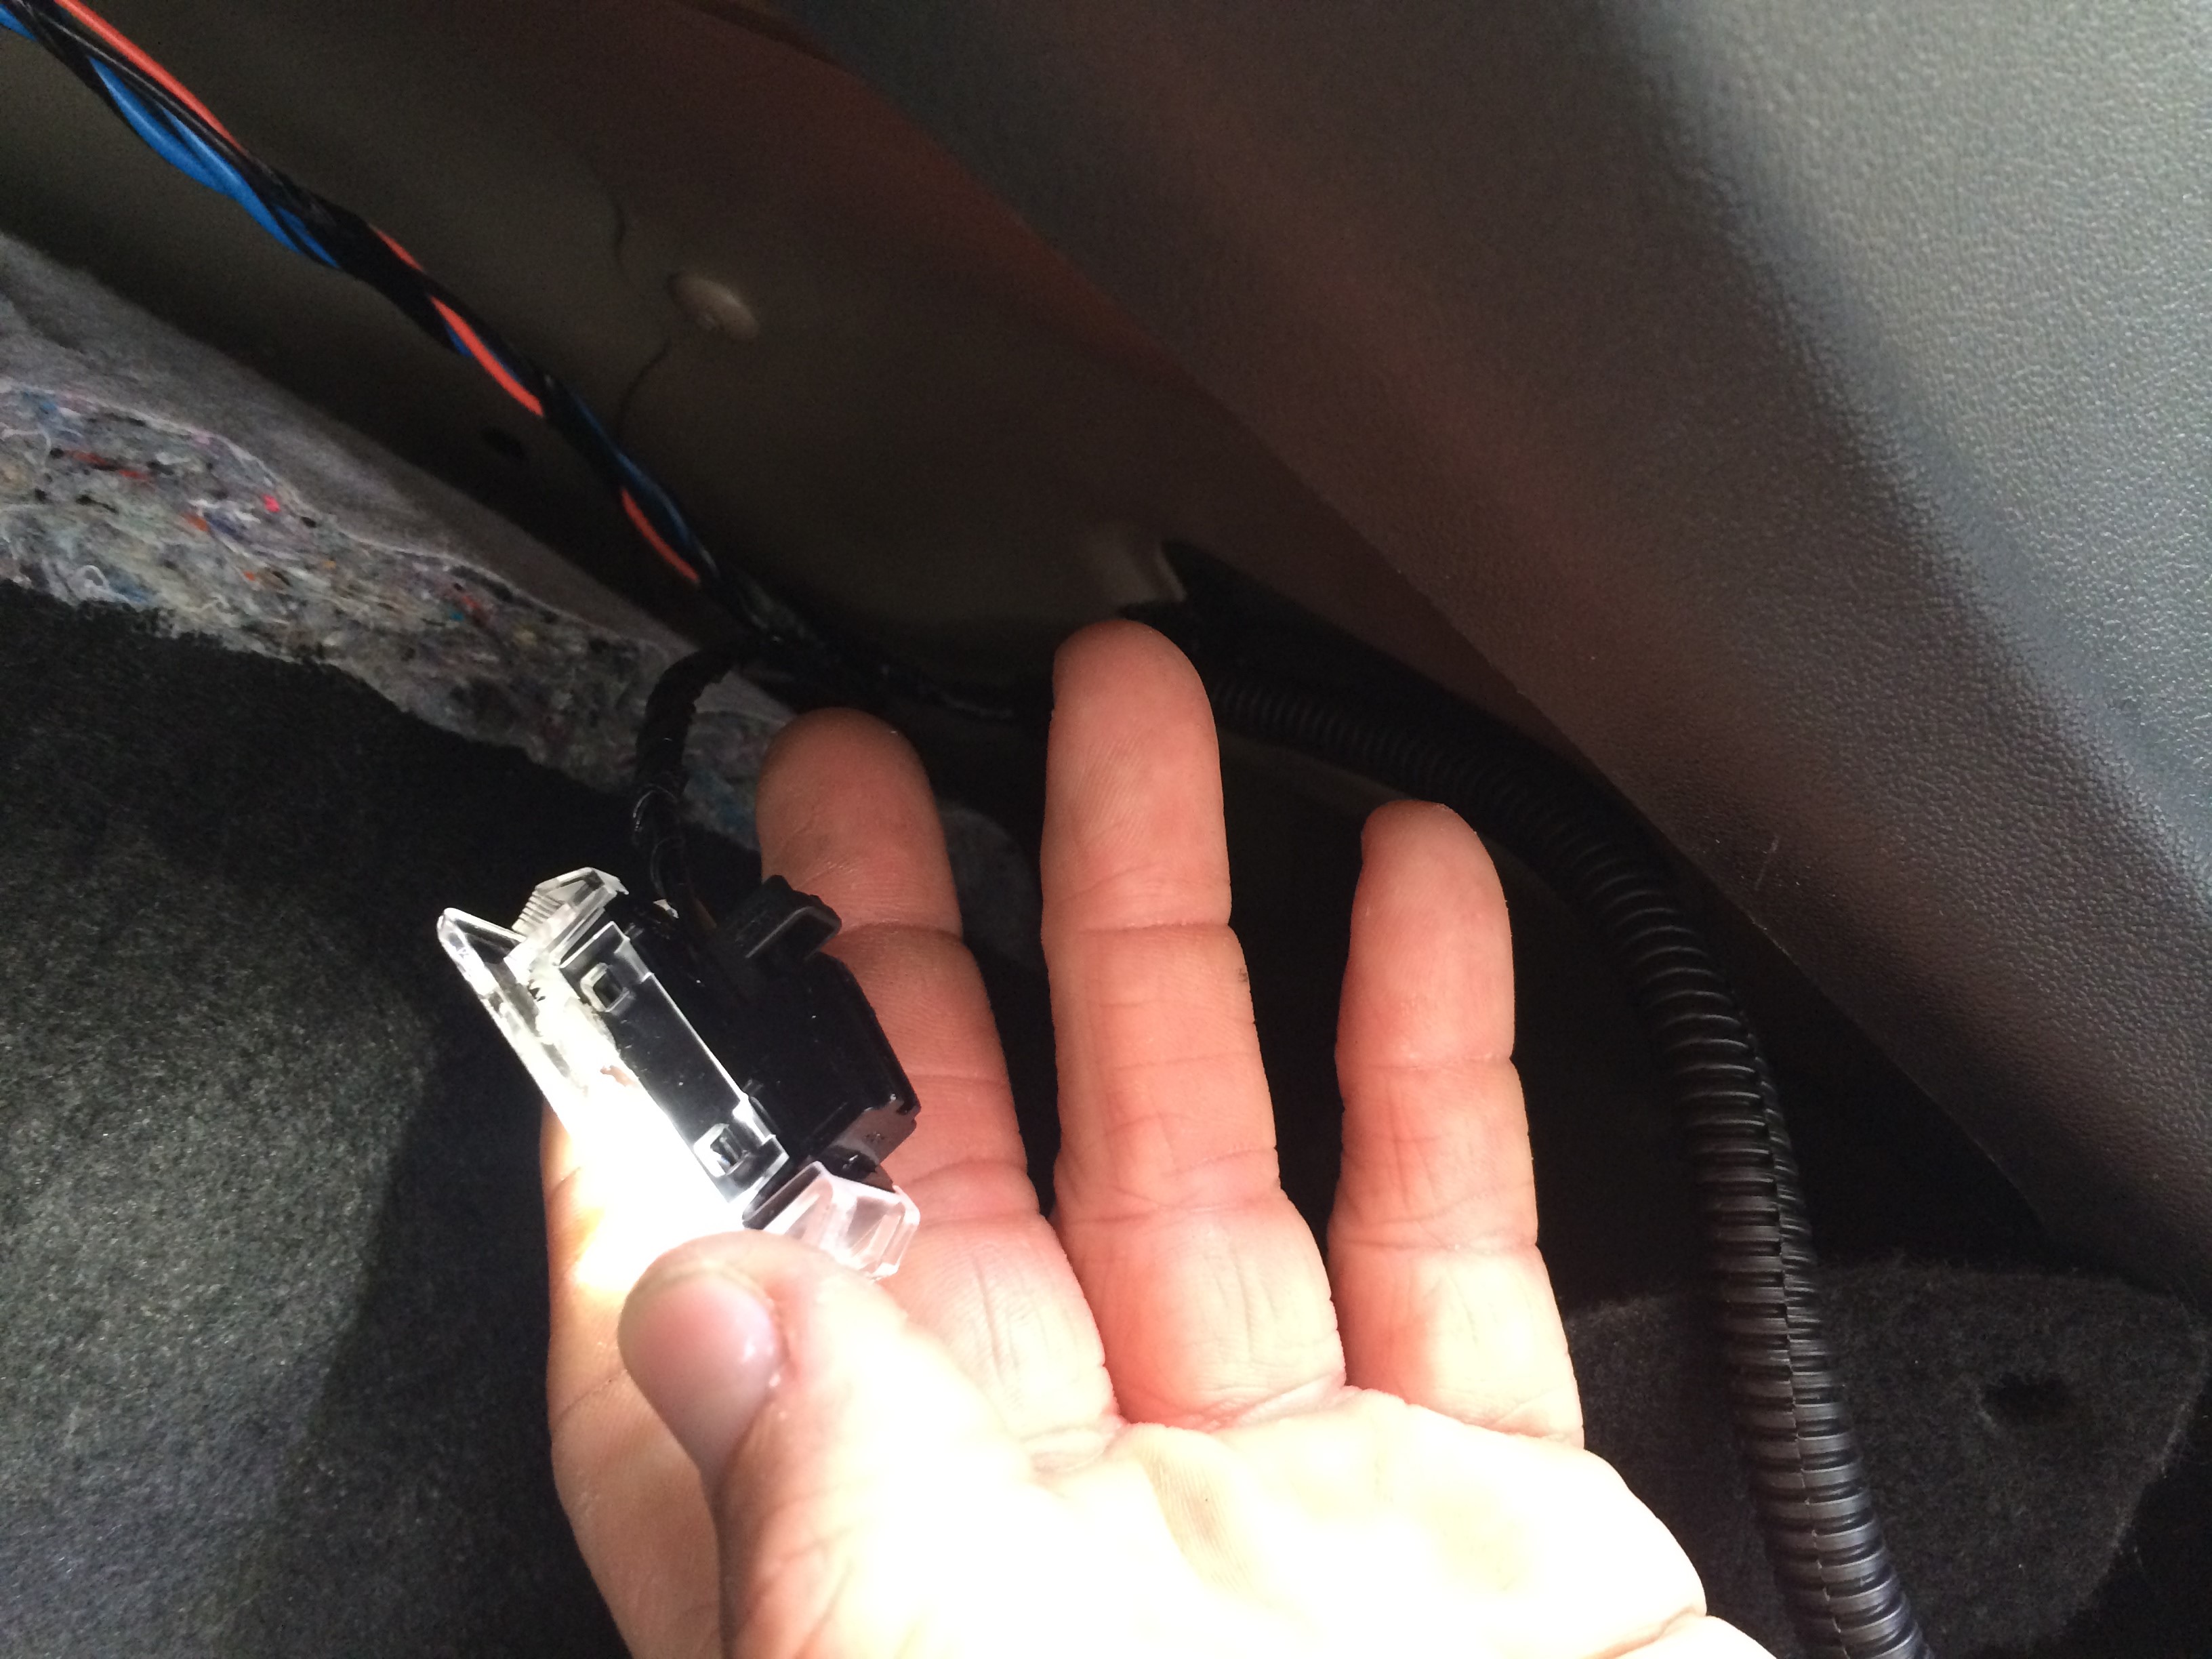
Remove the corner light, plug the harness in and the light back in before you replace the black plastic curved trim. Insert the car’s male connector into the female connector on the 24-26 inch harness to power the harness. Then the near male connector plugs into the corner light to restore power to it. The light is then snapped back into the liner at the corner. Continue routing or tucking the harness between the liner and the body until you have the harness stretched out and the end reaches where the parcel shelf bracket would be.
You want the two harness plugs exposed/ready to plug into the back of the bracket and into the two flush mounted AO LED lights. Once you have the harness tucked behind the liner and the ends exposed at the bracket location, you can push the liner back into place and smooth the liner contours back into place.
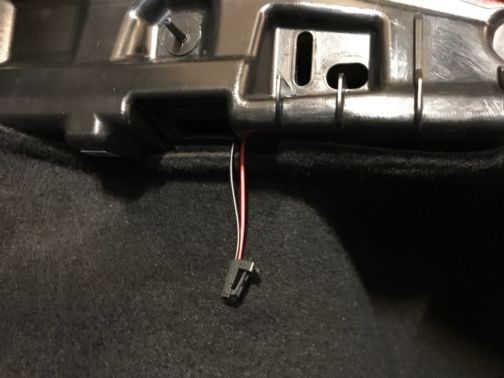
Connector near parcel shelf bracket
One connector of harness appears at the side of trunk where bracket snaps in place. The connector will be plugged into flush mounted light on parcel shelf bracket during re-assembly.
If you have already mounted the AO lights in the parcel shelf bracket, it’s ready to re-install in the car. Before you go further, open and close the trunk liftgate to trigger the lights from off back to on again. Now you can test your corner light to insure it’s lit. Next hold the bracket near the harness and plug the harness connectors into the back of the lights to test the new flush mounted lights to insure power is going to the lights before you re-install the bracket. Sometimes the plugs don’t seat well, so a test will save you removing the bracket later.

Back view of parcel shelf bracket with LED modules
Picture shows harness tucked into bracket backside with two flush mounted lights connected. For demonstrating both lights connected. Optional hook also installed.
In reverse or the way you removed it, start at the C Pillar and align the clips and push the bracket and clips back on to the car. Get them in place and usually a smack with the bottom of your hand will pop the bracket back in place at that end. Continue up the length of the bracket towards the end with the 45 degree angle. More smacks with the bottom of your hand will push the clips in place. As you finish, help seat the bracket by curling the weatherstrip from behind the bracket and over to the outside the bracket. Screw the Torx 20 screw back in place and you should be finished.
If you have already bought a set of four of Abstract Ocean’s lights and you have the original Tesla lights as spares, you can use them too. However the Tesla lights are weak and you will not get as much light in the trunk.
The harness connects your new lights to the existing lights already in the trunk so they go off and on with the corner trunk lights.
I choose to make my mods as easily reversible as possible. I take care to use OEM connectors and parts everywhere possible. Even though more expensive, I opted to use the Mouser OEM terminals, pins and housing to assemble my harness. It would be cheaper to devise a more generic connection to the corner trunk light harness and use other generic pigtails to connect to the AO lights. A link to a generic pigtail is shown above in the Parts for this Project.
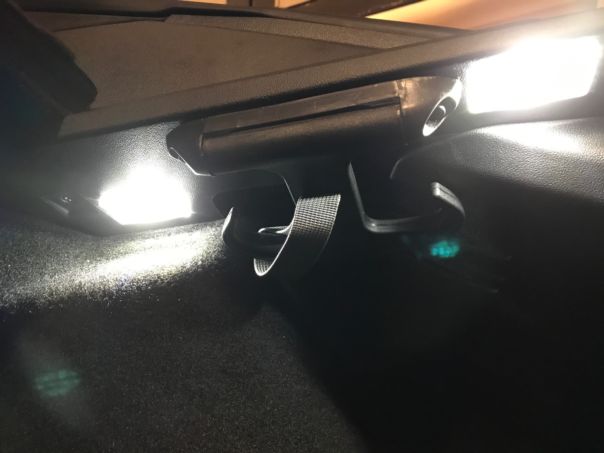
Looking up at bracket with lights on