On the Model S and X in roughly the 2016-2017 era, the screen develops a yellow-brown border that grows darker with time. It usually shows very slowly in a year or two. It’s most noticeable when the screen has a white background. We believe the glue used in the manufacture of the display was not cured properly. (Apr-2025 Update, originally done in 2020)
Tesla will fix this by using a high-power UV light focused on the display. It takes several hours to do this. Nothing needs to be removed or replaced. It is free if done during the warranty period. Not all service centers have the fixture. Just set up an appointment, and they will advise you if they can’t do the work.
Now during the lockdown, having time on my hands, I wanted to see if I could do it myself at home. There really is no need to do this at home, but a few owners asked how I did it. It’s quite cheap and easy to do. If you live far from a service center and you’re a DIY type, this may be far easier than driving a long way to get it done.
Ok, you’ll need a UV source with about 365-370 µm. This wavelength is optimal for curing the display. We bought this UV nail lamp for $21 from Amazon. It is used to cure gel fingernail paint and is safe to use. This is not the UV-C 200-280 µm wavelength that is harmful to the eyes.
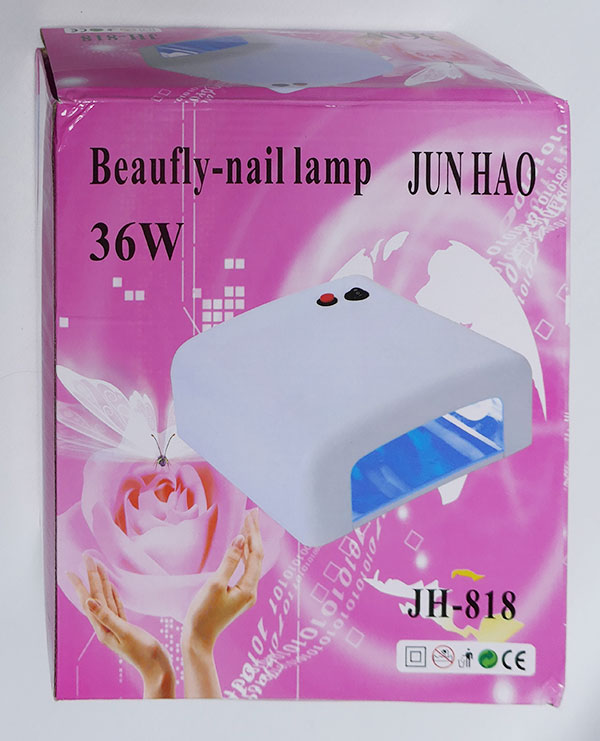
UV Unit
We also used a cardboard box. If you have a lot of Amazon boxes, a 1A5 size works well. You want to be able to cover at least 1/2 of the display but need to have the UV unit 4-5″ away from the display. Here’s the crude box we made with the UV light and masking tape.
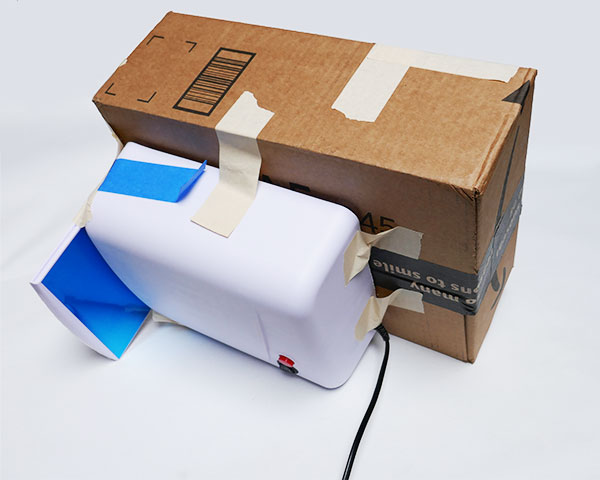
The box attached to the UV unit
We also applied some 2″ wide metallic tape to the insides of the box, but it likely isn’t necessary, and it is unclear if it helps.
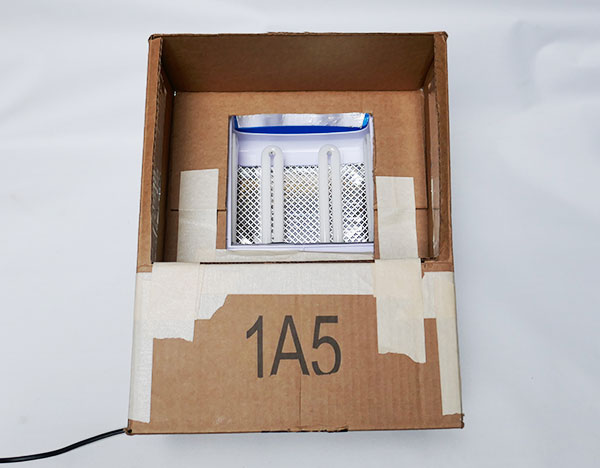
Looking into the completed box and UV source
First, turn off the climate control from the display.
Next, place the box against the display. We used a bunch of towels to adjust the height of the box.
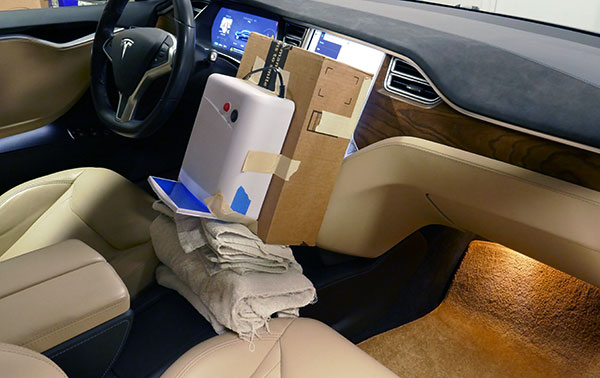
Assembly on the lower half of the display
In Controls -> Security, if you have an option to automatically close the windows when locked, be sure to turn this option off!
Open the driver’s window. Run an extension cord through the window and plug it into the unit. Turn the UV unit on with the switch on the back. On this unit, there are multiple switch positions: Off, timed, and on. Do not use the timed option as it only stays on for 2 minutes! With the unit on, close the driver’s door.
I did this in two sessions, once for the bottom half, and then flipped the box for the top half. It took about 24 hours for each session to get rid of the yellow border, but you can do it in multiple shorter sessions if needed. For example, if you need to use the car in the midst of the work – it’s fine. The curing is just the cumulative time the UV is on the display.
This takes much longer than the Tesla service center as the UV light is not as strong as the one Tesla uses, but the end results are the same. Once done, we do not believe the yellow border will return.