


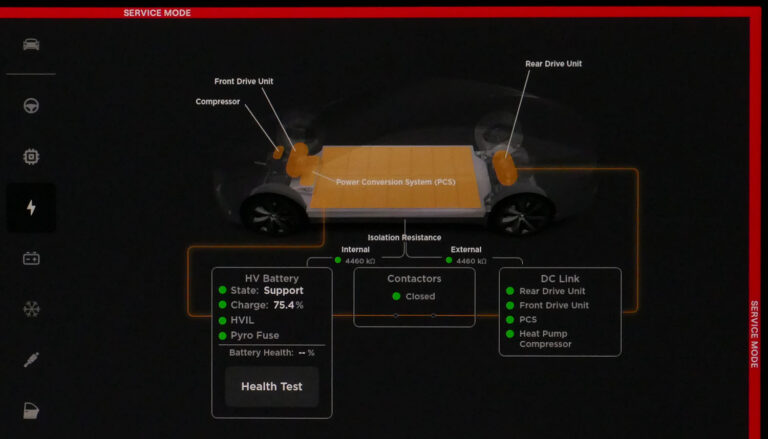
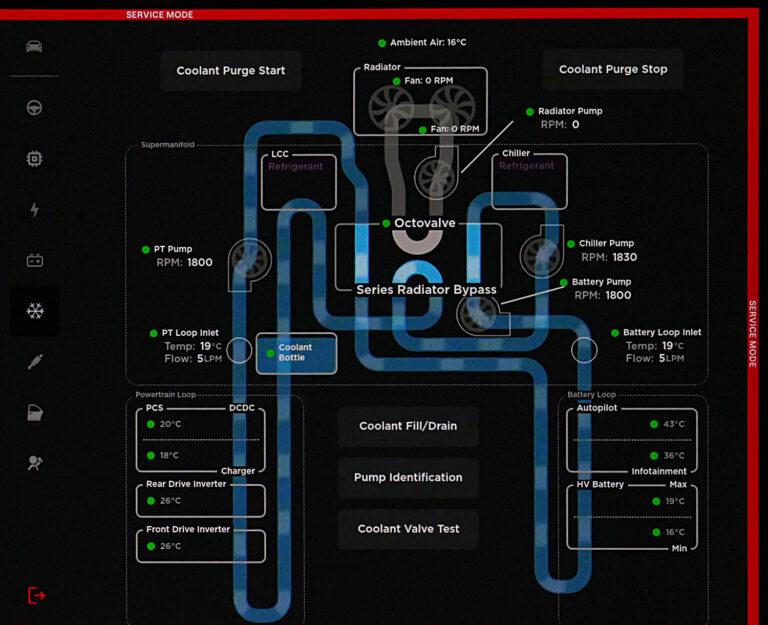
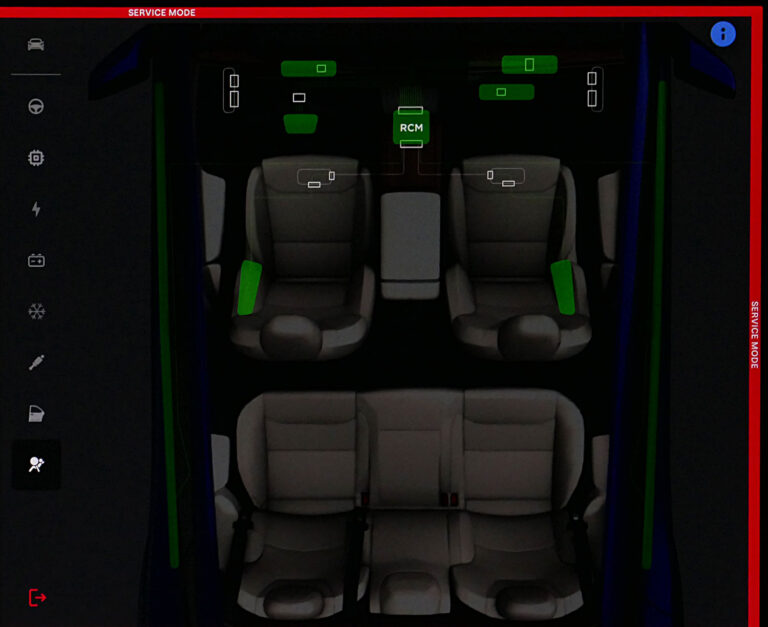
Animation when operating09
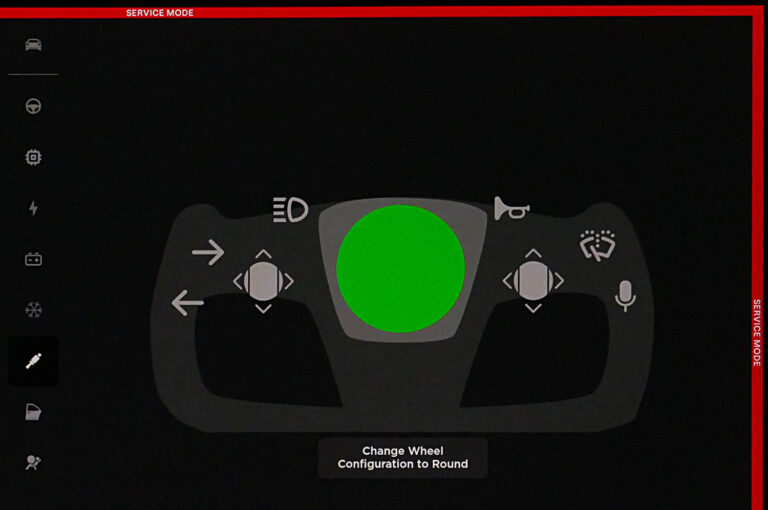

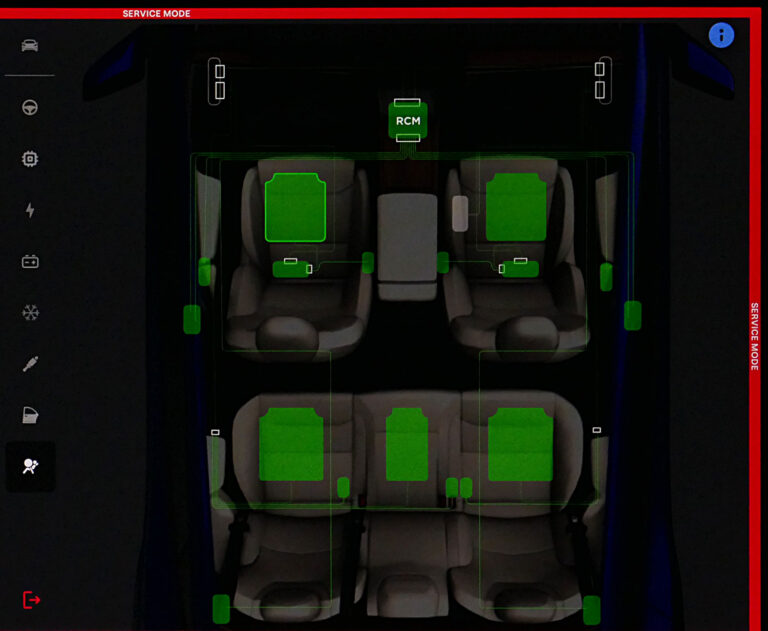
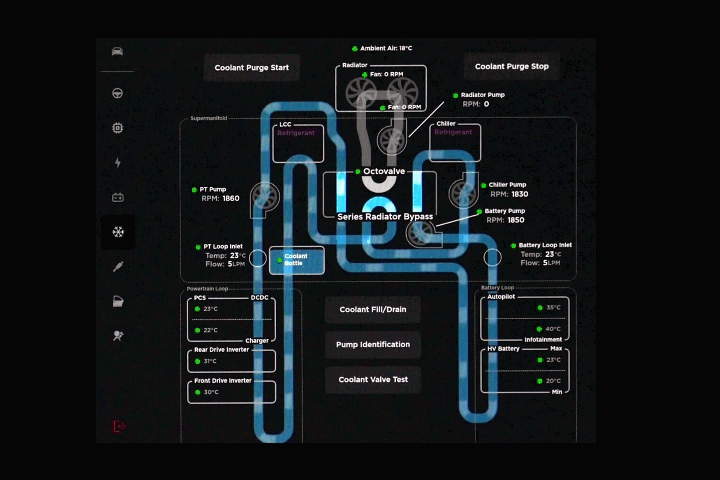
Animation when operating09